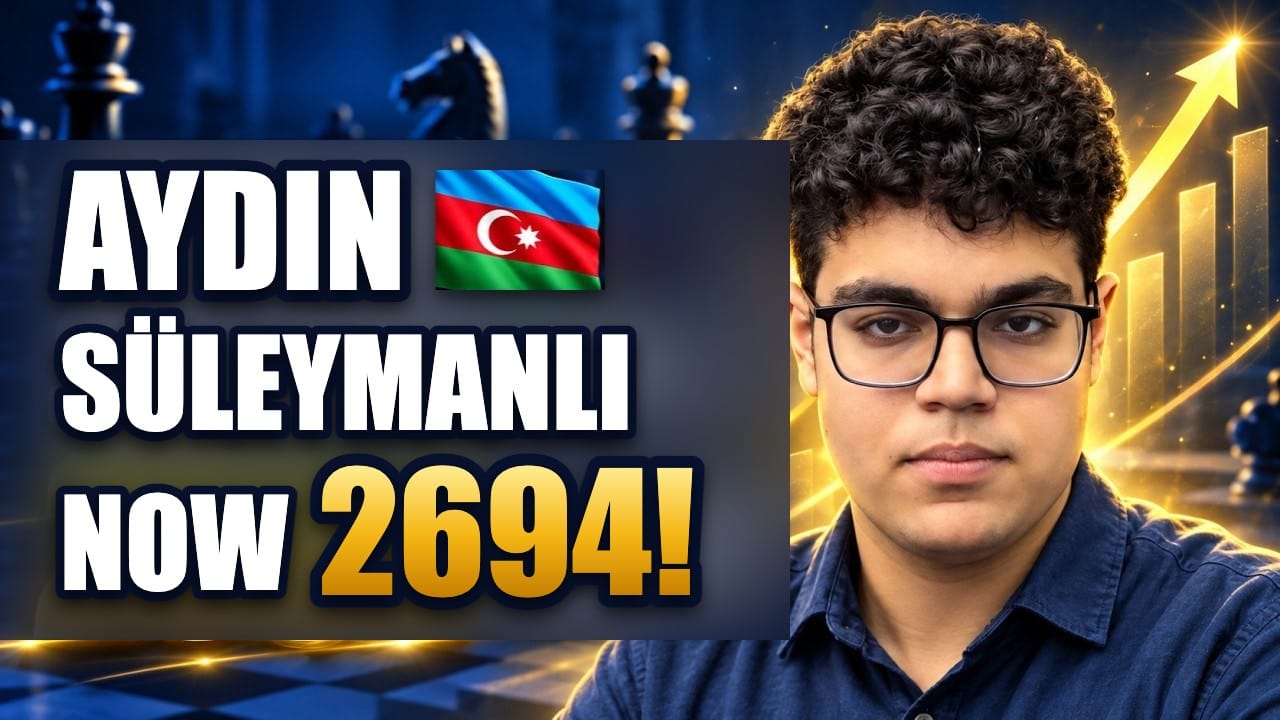
Süleymanlı–McShane, played in the third round of the 2026/27 Bundesliga season, is an instructive example of how to handle an isolated d-pawn position. In a structure arising from the Nimzo-Indian Defence, White first weakens the dark squares and then gives up his fine bishop for a knight to attack the d5 pawn. The game ends with a deflection after a mistake made in time trouble.
Below you can play through the whole game with a summary of the video commentary, and then try to solve the two critical positions where the exclamation-mark moves were played.
Annotated Game
Click on the moves, use the buttons under the board or the arrow keys on your keyboard to step through the game. The green arrows and squares on the board show the ideas explained in the video.
Critical Positions
The two moves that received an exclamation mark in the video. In both positions it is White to move. Think first, then open the answer or use the forward button under the board to see the move that was played.
Critical Position 1 – move 18, White to play
Show answer
18.Bxd5! The knight on a5 is attacking the bishop on b3. White gives up his beautiful bishop and takes the knight on d5. Had Black recaptured with the bishop, Nxd5, Qxd5 and Nf4 would follow with tempo; after Qd7, d5 is pushed and suddenly all the pieces flood in. In the game Black took back with the pawn and d5 became a permanent target: Nf4 and Qf3 went after it at once. Trading a good bishop for a knight is never an easy decision.
Critical Position 2 – move 24, White to play
Show answer
24.Bxg5! With g5 Black was attacking both the bishop on h6 and the knight on f4. White gives up the bishop on g5: if the queen takes, Nc7 hits the rook on e8 and the d5 pawn. If the rook runs to f8, then Re5, Qh4, Rh5 and Ncxd5 follow. In the game Black gave up material with Bd6; after the exchanges he had bishop and knight against a rook, but with his king so exposed the position fell apart.
Lessons from the Game
- The isolated d-pawn: In the d4–e6 structure the white pieces are active, while Black's c8-bishop is shut in behind the e6 pawn. Black wants to trade pieces, which is why White avoided the bishop trade with Bh6.
- Weakening the dark squares: Qd3 and Bg5, with a mating threat on h7, forced g6. Then Bh6 put the dark squares under White's control.
- Putting the rook on the right file: The last rook went not to the open c-file but to the closed d-file, to keep the d4 pawn firmly protected.
- Giving up the good bishop: 18.Bxd5! created a permanent target on d5 and the white pieces piled up against it.
- Calculation: White answered Black's g5 fork with deeper calculation: 24.Bxg5! followed by Nc7.
- One more piece into the attack: With rook and queen already attacking, 31.h4 brought the h-pawn into the fight as well.
- Solving puzzles: Even a 2600 player can make a simple mistake like 31...Qf6?? in time trouble. Solving lots of puzzles is how you learn to spot motifs like the 32.Rg8+ deflection.
Video Commentary
Source: game analysis originally published on Satranç Okulu Market (in Turkish).